2026-08-17 · Mark Delgado
How Trenchless Pipe Repair Works Step By Step
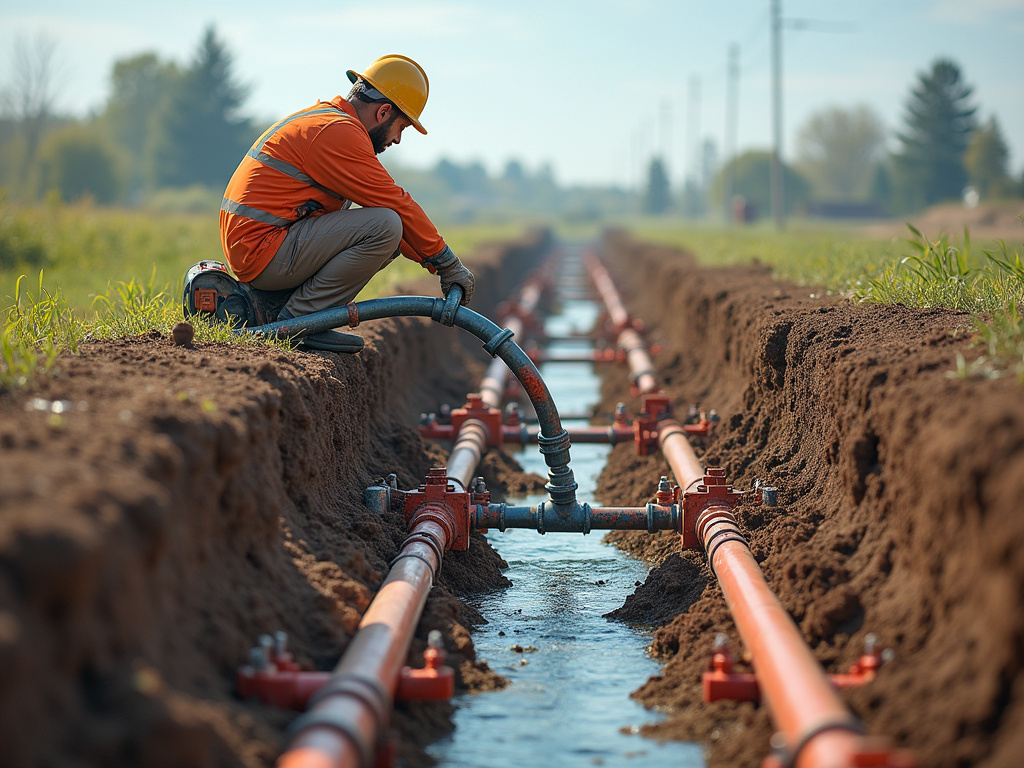
Trenchless pipe repair works in five basic stages: camera inspection, access pit digging (usually two small holes rather than a full trench), pipe clearing, installing either a cured-in-place liner or bursting the old pipe while pulling through a new one, and a final camera check to confirm the fix. Most jobs on a standard residential line in Richardson take 1–2 days, compared to 3–5 days for a dug-up trench repair across a yard. Understanding each step helps homeowners know what a crew is actually doing under their lawn instead of just trusting a quote.
Step 1: Camera Inspection And Diagnosis
Every trenchless job starts with a sewer or water line camera pushed through a cleanout or access point. We're looking for the type and location of the damage — a bellied section, root intrusion, a cracked joint, or a collapsed segment. Richardson's clay-heavy soil around neighborhoods like Northrich and Breckinridge Park shifts with our wet-dry cycles, and that shifting is the most common cause of the offset joints and bellies we find on camera. This step also tells us whether the pipe is even a candidate for trenchless repair — a fully collapsed or severely offset line sometimes still needs open excavation. For a rundown of what those early warning signs look like before they become emergencies, see signs of pipe damage before winter in Richardson.
Step 2: Locating And Digging Access Points
Once we know where the damage is, we locate the pipe with a transmitter and mark two small access points — typically 2×2 feet each — one on each end of the damaged section. This is the biggest visual difference from traditional repair: instead of a trench running the length of the yard, driveway, or sidewalk, you get two modest holes. In older parts of Downtown Richardson where mature trees sit close to the sewer line, we're careful to place access points away from root systems to avoid re-triggering intrusion.
Step 3: Clearing And Prepping The Pipe
Before any liner or new pipe goes in, the existing line gets cleared with a hydro-jetter, which blasts water at high pressure to cut through roots, grease, and scale buildup. This step matters more than people expect — a liner installed over debris or roots won't cure properly and can fail early. On older cast iron or clay lines common in homes near the University of Texas at Dallas and Galatyn Park corridor, we sometimes run the jetter twice to get a clean surface for the resin to bond to.
Step 4: Installing The Liner Or Bursting The Pipe
This is where trenchless repair splits into two main methods, and the right one depends on the pipe's condition:
- CIPP lining (cured-in-place pipe): a resin-saturated felt tube is pulled or inverted into the damaged section, then cured with hot water, steam, or UV light to form a smooth new pipe inside the old one. Best for pipes that are cracked or leaking but still round and structurally intact. Learn more about the process on our CIPP lining page.
- Pipe bursting: a bursting head is pulled through the old pipe, cracking it outward while simultaneously pulling a new HDPE pipe into place. Best for pipes that are collapsed, badly bellied, or too small in diameter for current needs. Details on when this method makes sense are on our pipe bursting page.
Both methods result in a pipe with a 50+ year expected service life for CIPP resin and similar longevity for HDPE, and both avoid tearing up landscaping, patios, or driveways.